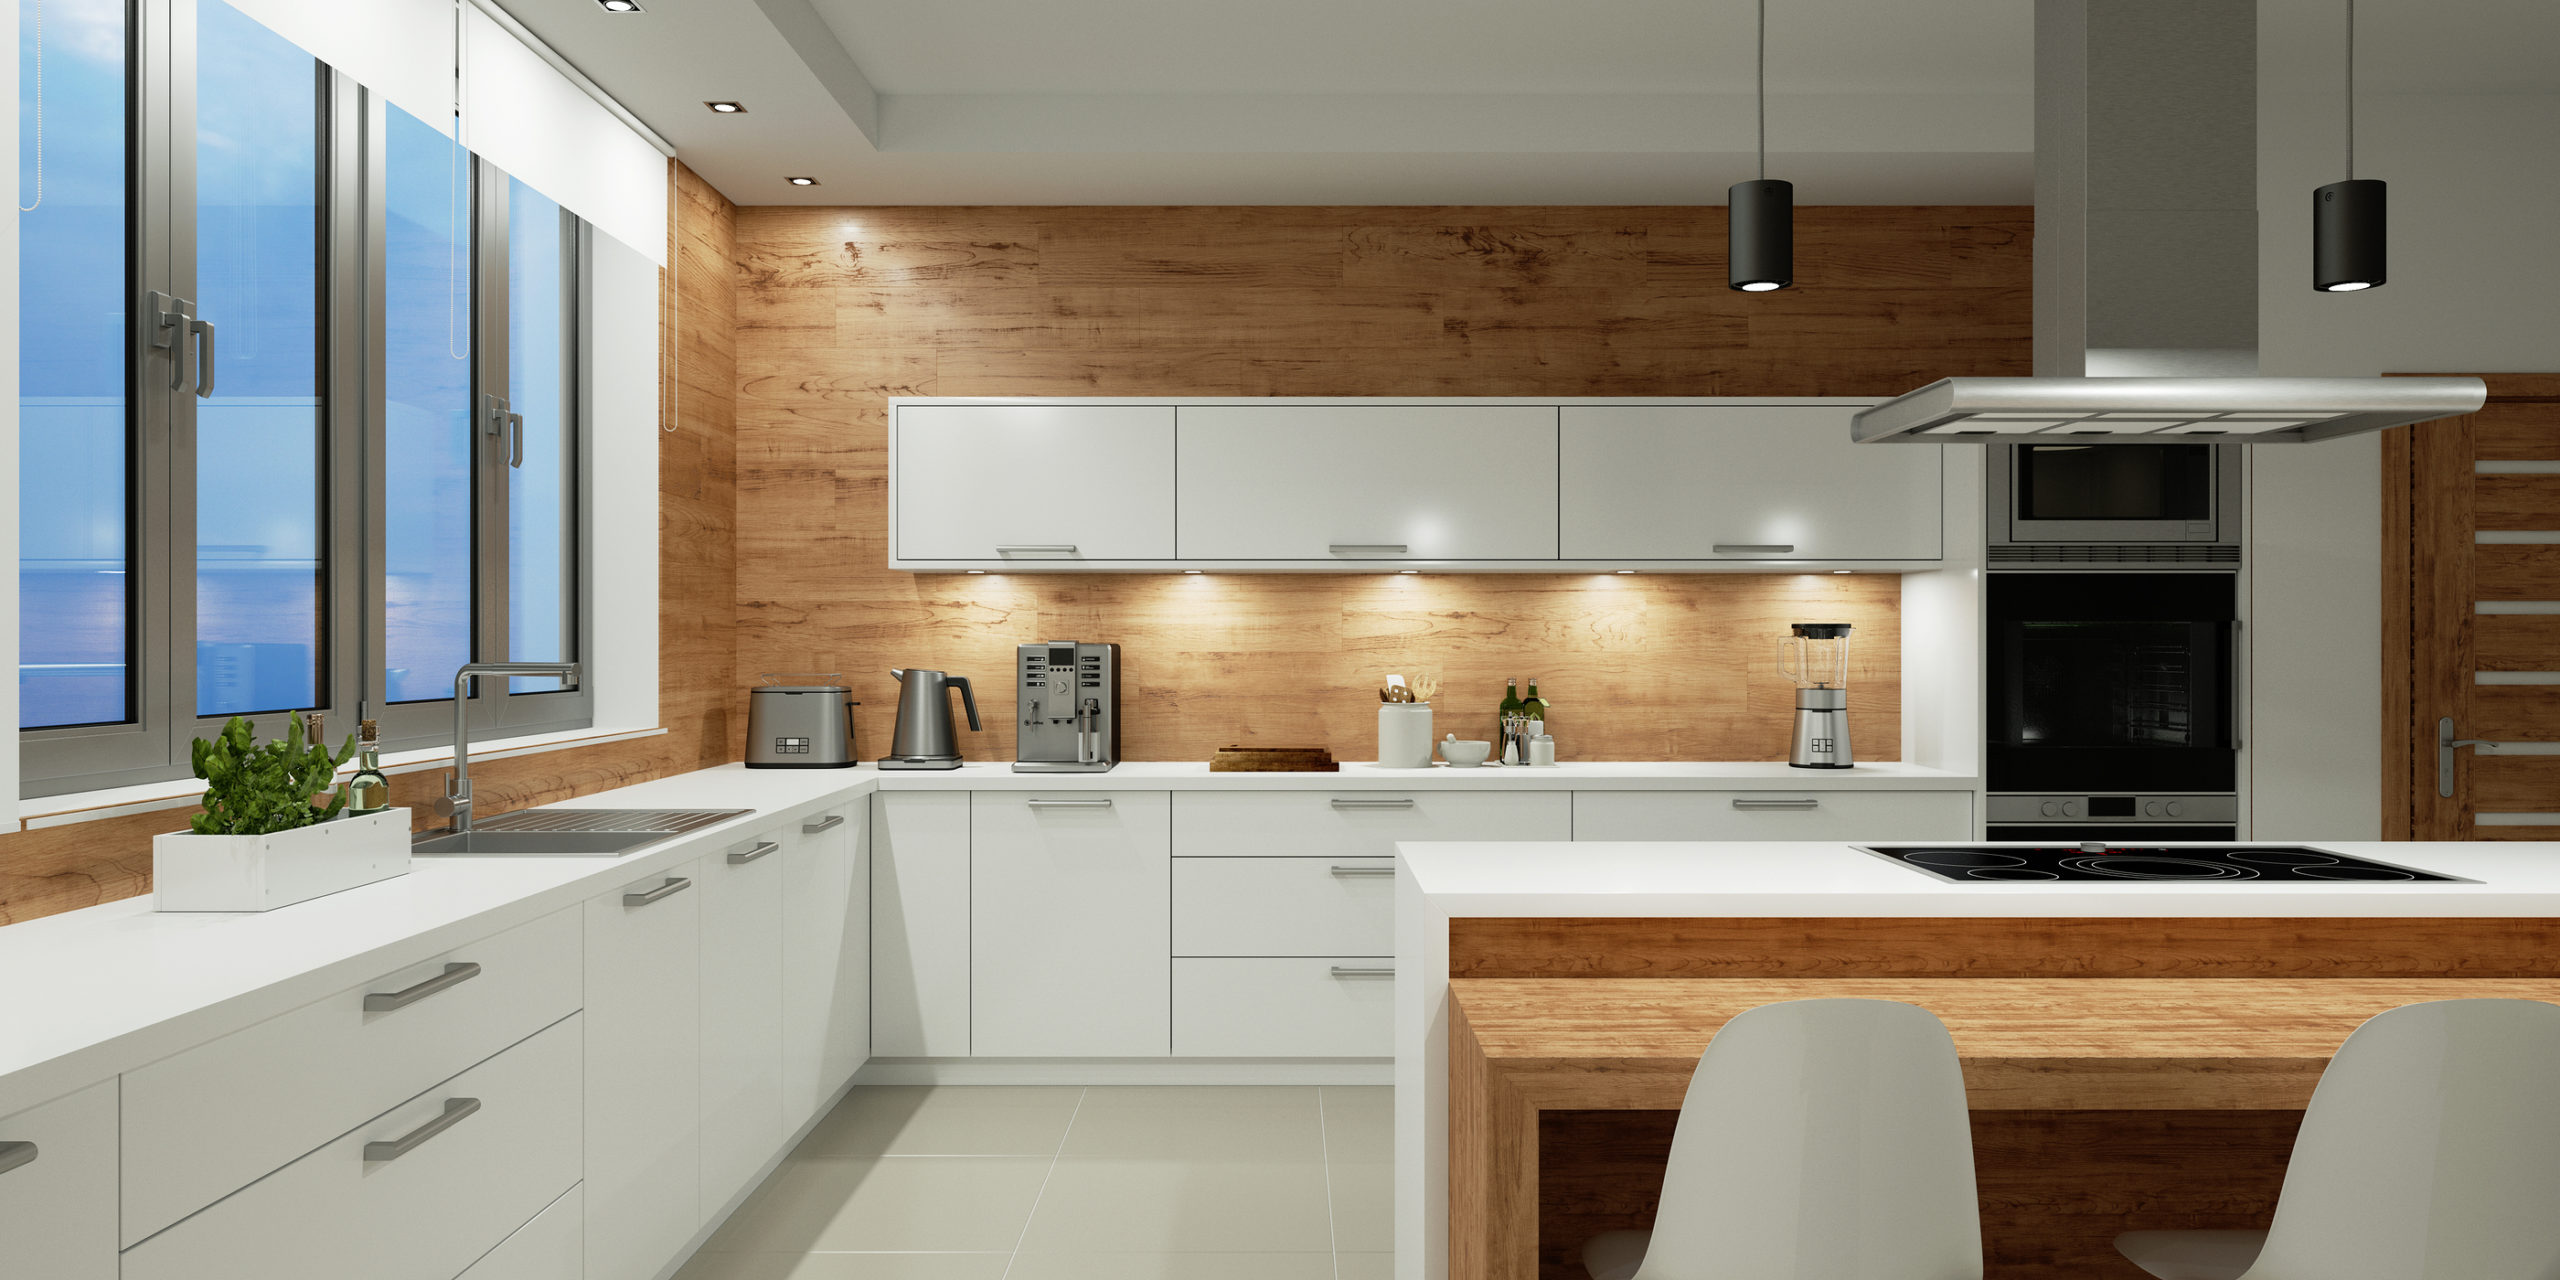
What are the Steps in a Kitchen Remodel?

 No kitchen remodels are ever the exact same. With differing styles, designs, materials, layouts, and intended outcomes, renovations are tailored to meet your kitchen’s specific needs. However, regardless of the vision for your future kitchen, all homeowners should establish a plan for their kitchen remodel before making drastic changes. Below, we have laid out a general plan for a major kitchen remodel to help you get an idea of what to expect.
Step 1: Style and Functionality
Before grabbing a sledgehammer, visit home improvement stores, peruse the internet, and flip through remodeling magazines to get an idea of what you want your kitchen to look like. Think about how your kitchen’s new design will fit with the style of your home. While also factoring in how you currently use your kitchen, so after the remodel your space will be aesthetically pleasing and highly functional. Find which kitchen style speaks to you in our blog about popular kitchen styles. Make sure to carefully plan and design before moving onto step 2.
Step 2: Demo
The demolition phase of a remodel is a chance to get rid of anything outdated or worn out that you don’t want in your new space. Before you begin, confirm that the gas, water, and electricity are off in the area you are working in. Some homeowners handle this phase by themselves, but we recommend hiring a licensed contractor who carries the skills to avoid plumbing and pipes hidden behind walls or beneath cabinets.
Step 3: Contractors
Hiring a general contractor can save a homeowner a lot of time and stress since their main priority is to supervise and regulate workers. Make sure your contractors show you evidence that they’re licensed, bonded, insured, and possess the necessary permits. It’s common that most contractors will request not to work alongside other contractors, so plan on scheduling them to work separate days.
Step 4: Structural Changes
Make structural changes such as new windows, walls, or doorways now. These changes are often made to enhance the use and function of space in your kitchen. It’s most convenient to make these changes now before new utility works is applied.
Step 5: Rough-In Plumbing, Mechanical, and Electrical
Most utility rough-in work needs to be completed before the drywall and flooring are installed because of the easier access to the wiring for inspection and placing outlets, fixture boxes, and switches. Rough-in refers to the phase of construction where the base framing is completed but the walls and ceiling are not closed up with wallboard. Many kitchen remodels include installing recessed ceiling lighting, new pendant lights, or breakfast nook lighting.
Step 6: Install Drywall and Paint
Hang and finish new drywall and insulation, if needed. Prep, prime, and paint any surfaces that can be completed before installing flooring. The priming step seals the facing paper and protects it against scuffs and scrapes when installing other items in the room ensuring the walls remain in great shape.
Step 7: Install Flooring and Baseboards
Contractors often debate at what part of the remodeling process should flooring be installed. Tile and hardwood should be installed before cabinetry. However, floating floor types like luxury vinyl flooring and laminates should be installed after the cabinets. With such a wide variety of flooring options- ceramic, stone, laminate flooring, linoleum- there’s something to appeal to any kitchen!
Step 8: Add Cabinets
Cabinetry is the largest part of the kitchen. Providing storage for all your most-used items, cabinets give structure and flow to your kitchen. In many instances, this step is the most fun because you can finally start to see the finished project start to take shape. Consider the cabinet construction. Use this guide to learn how to select new kitchen cabinets.
Step 9: Install Countertops
After the cabinets are installed, measurements for countertop can begin. With custom countertops, installers generally insist upon measuring the template once the cabinets are in place. The process of measuring, ordering, and installing custom countertops is the most prolonged delay with kitchen remodeling work and usually takes 6 weeks.
Step 10: Apply Backsplash
Backsplashes can be an excellent way to incorporate a complementary color in your kitchen. Using samples of your countertop and your cabinet door will help aid you in deciphering which design, color, and material to choose.
Step 11: Install Appliances and Hardware
Now it’s time to add your new appliances and hardware! New appliances normally include items such as the built-in microwave, stove, refrigerator, etc. Call the electrician and the plumber to install your appliances and to make sure they are working correctly. When wheeling in your larger appliances, make sure your flooring is covered to prevent any unfortunate accidents.
Step 12: Enjoy Your Newly Remodeled Kitchen
Once your kitchen is complete, pour yourself a glass of coffee or wine, take a step back, and fully appreciate your remodeled masterpiece.
Back
